Encryption Mission: Symmetric vs. Asymmetric Cryptography
This is a spy-thriller classroom activity that brings cryptography to life. Your students will work in pairs to send encrypted messages to each other while you (the teacher) play Eve, the eavesdropper trying to intercept and crack their codes. Over three missions, they'll experience the progression from symmetric encryption, through asymmetric encryption, and finally to hybrid encryption—which mirrors how real-world security protocols like HTTPS actually work.
The activity is designed for 45–60 minutes and works best with a class discussion board (Google Classroom, Canvas, Schoology, or even a shared document). It's hands-on, engaging, and directly connects abstract cryptographic concepts to a narrative that makes sense to students.
Quick Overview
Duration: 45–60 minutes | Team size: Groups of 3, paired together | Tools needed: Class discussion board, access to compsciprinciples.com encryption tools | Standards: AP CSP 6.3.1H, 6.3.1I, 6.3.1J, 6.3.1M
What You'll Need
Before class, gather these resources so you're ready to launch the missions smoothly.
Download the complete student handout (PDF) — it contains all the "classified memos" formatted as Department of Homeland Security documents with TOP SECRET stamps. Students love the theming.
For Students: One computer per pair of students (or small group access to devices where pairs can take turns). Access to the three encryption tools on this site: symmetric-key encryption, public-key encryption, and public-key decryption.
For Message Exchange: A class discussion board or shared space where student pairs can post encrypted messages (and later, public keys). Google Classroom, Canvas, Schoology, or even a simple shared Google Doc works fine. You'll need this so Alice can post a message that Bob can retrieve, and so Eve (you) can "intercept" everything.
For Mission 1: Sealed envelopes or printed slips containing the shared secret password: TheDuckFliesAt1237AM (case-sensitive, no spaces). Prepare two copies so both the "Alice" and "Bob" groups in each pair receive the same password.
Physical Materials: The PDF student handout and activity description (see "Downloadable Materials" section below) help students understand their role and keep track of progress.
Optional but Recommended: The educational video about cryptography (linked in the "After the Activity" section) works well as a recap or bridge into Mission 3.
Setup: Divide Into Teams and Assign Roles
Split your class into groups of approximately three students each. Then pair the groups together: one group will be "Alice" (the sender), and the paired group will be "Bob" (the receiver). You, the teacher, are "Eve"—the eavesdropper lurking in the background, intercepting all communications.
The three-student team size works well because it allows for role division: one or two students can operate the encryption tools while the others verify results or manage the discussion board. If you have an odd number of students, you can join a team as a participant, or have one group of four.
Once teams are assigned, give each pair access to the discussion board where they'll post ciphertext, public keys, and encrypted passwords. You (Eve) should have read access to everything so you can monitor the activity and, when appropriate, announce that you've "intercepted" a message or "compromised" the shared secret.
Mission 1: Symmetric-Key Encryption
Begin by setting the scene. Tell students that Alice and Bob need to exchange a secret message, and they've already agreed on a password that only they know. Eve (you) will try to intercept the message, but without knowing the password, the message should remain secure. This is symmetric-key cryptography in action: both parties use the same secret to lock and unlock.
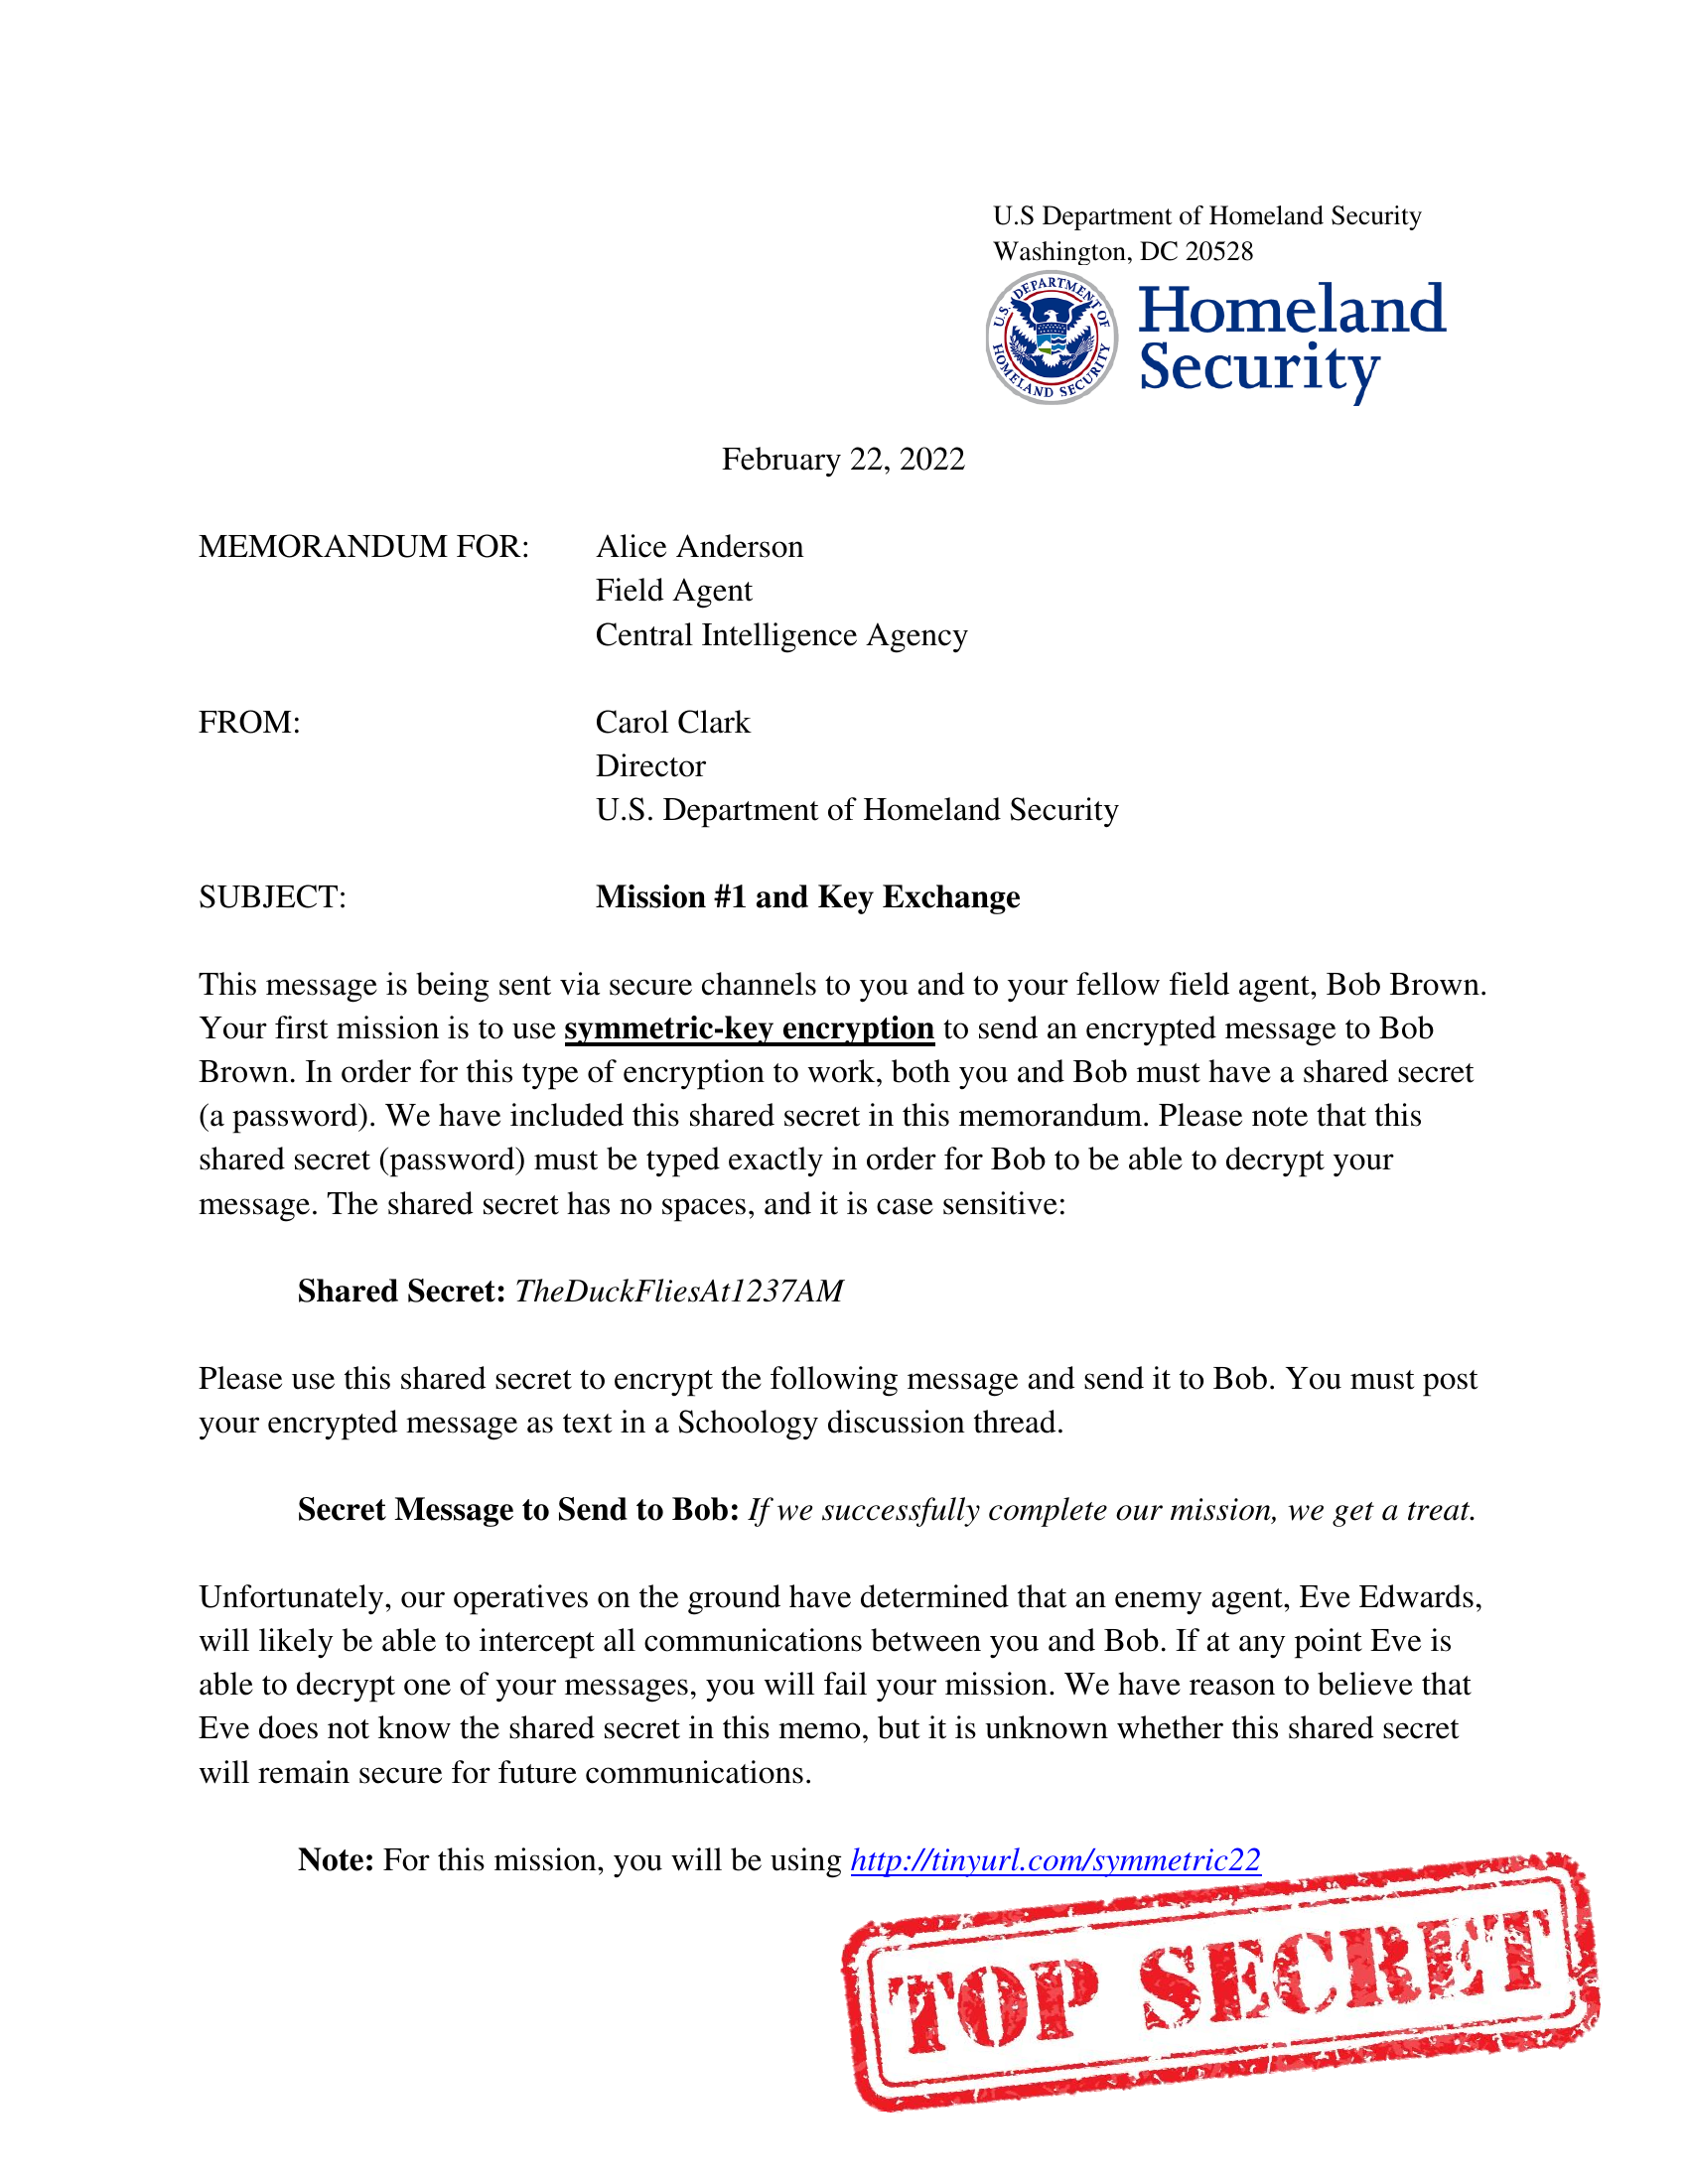
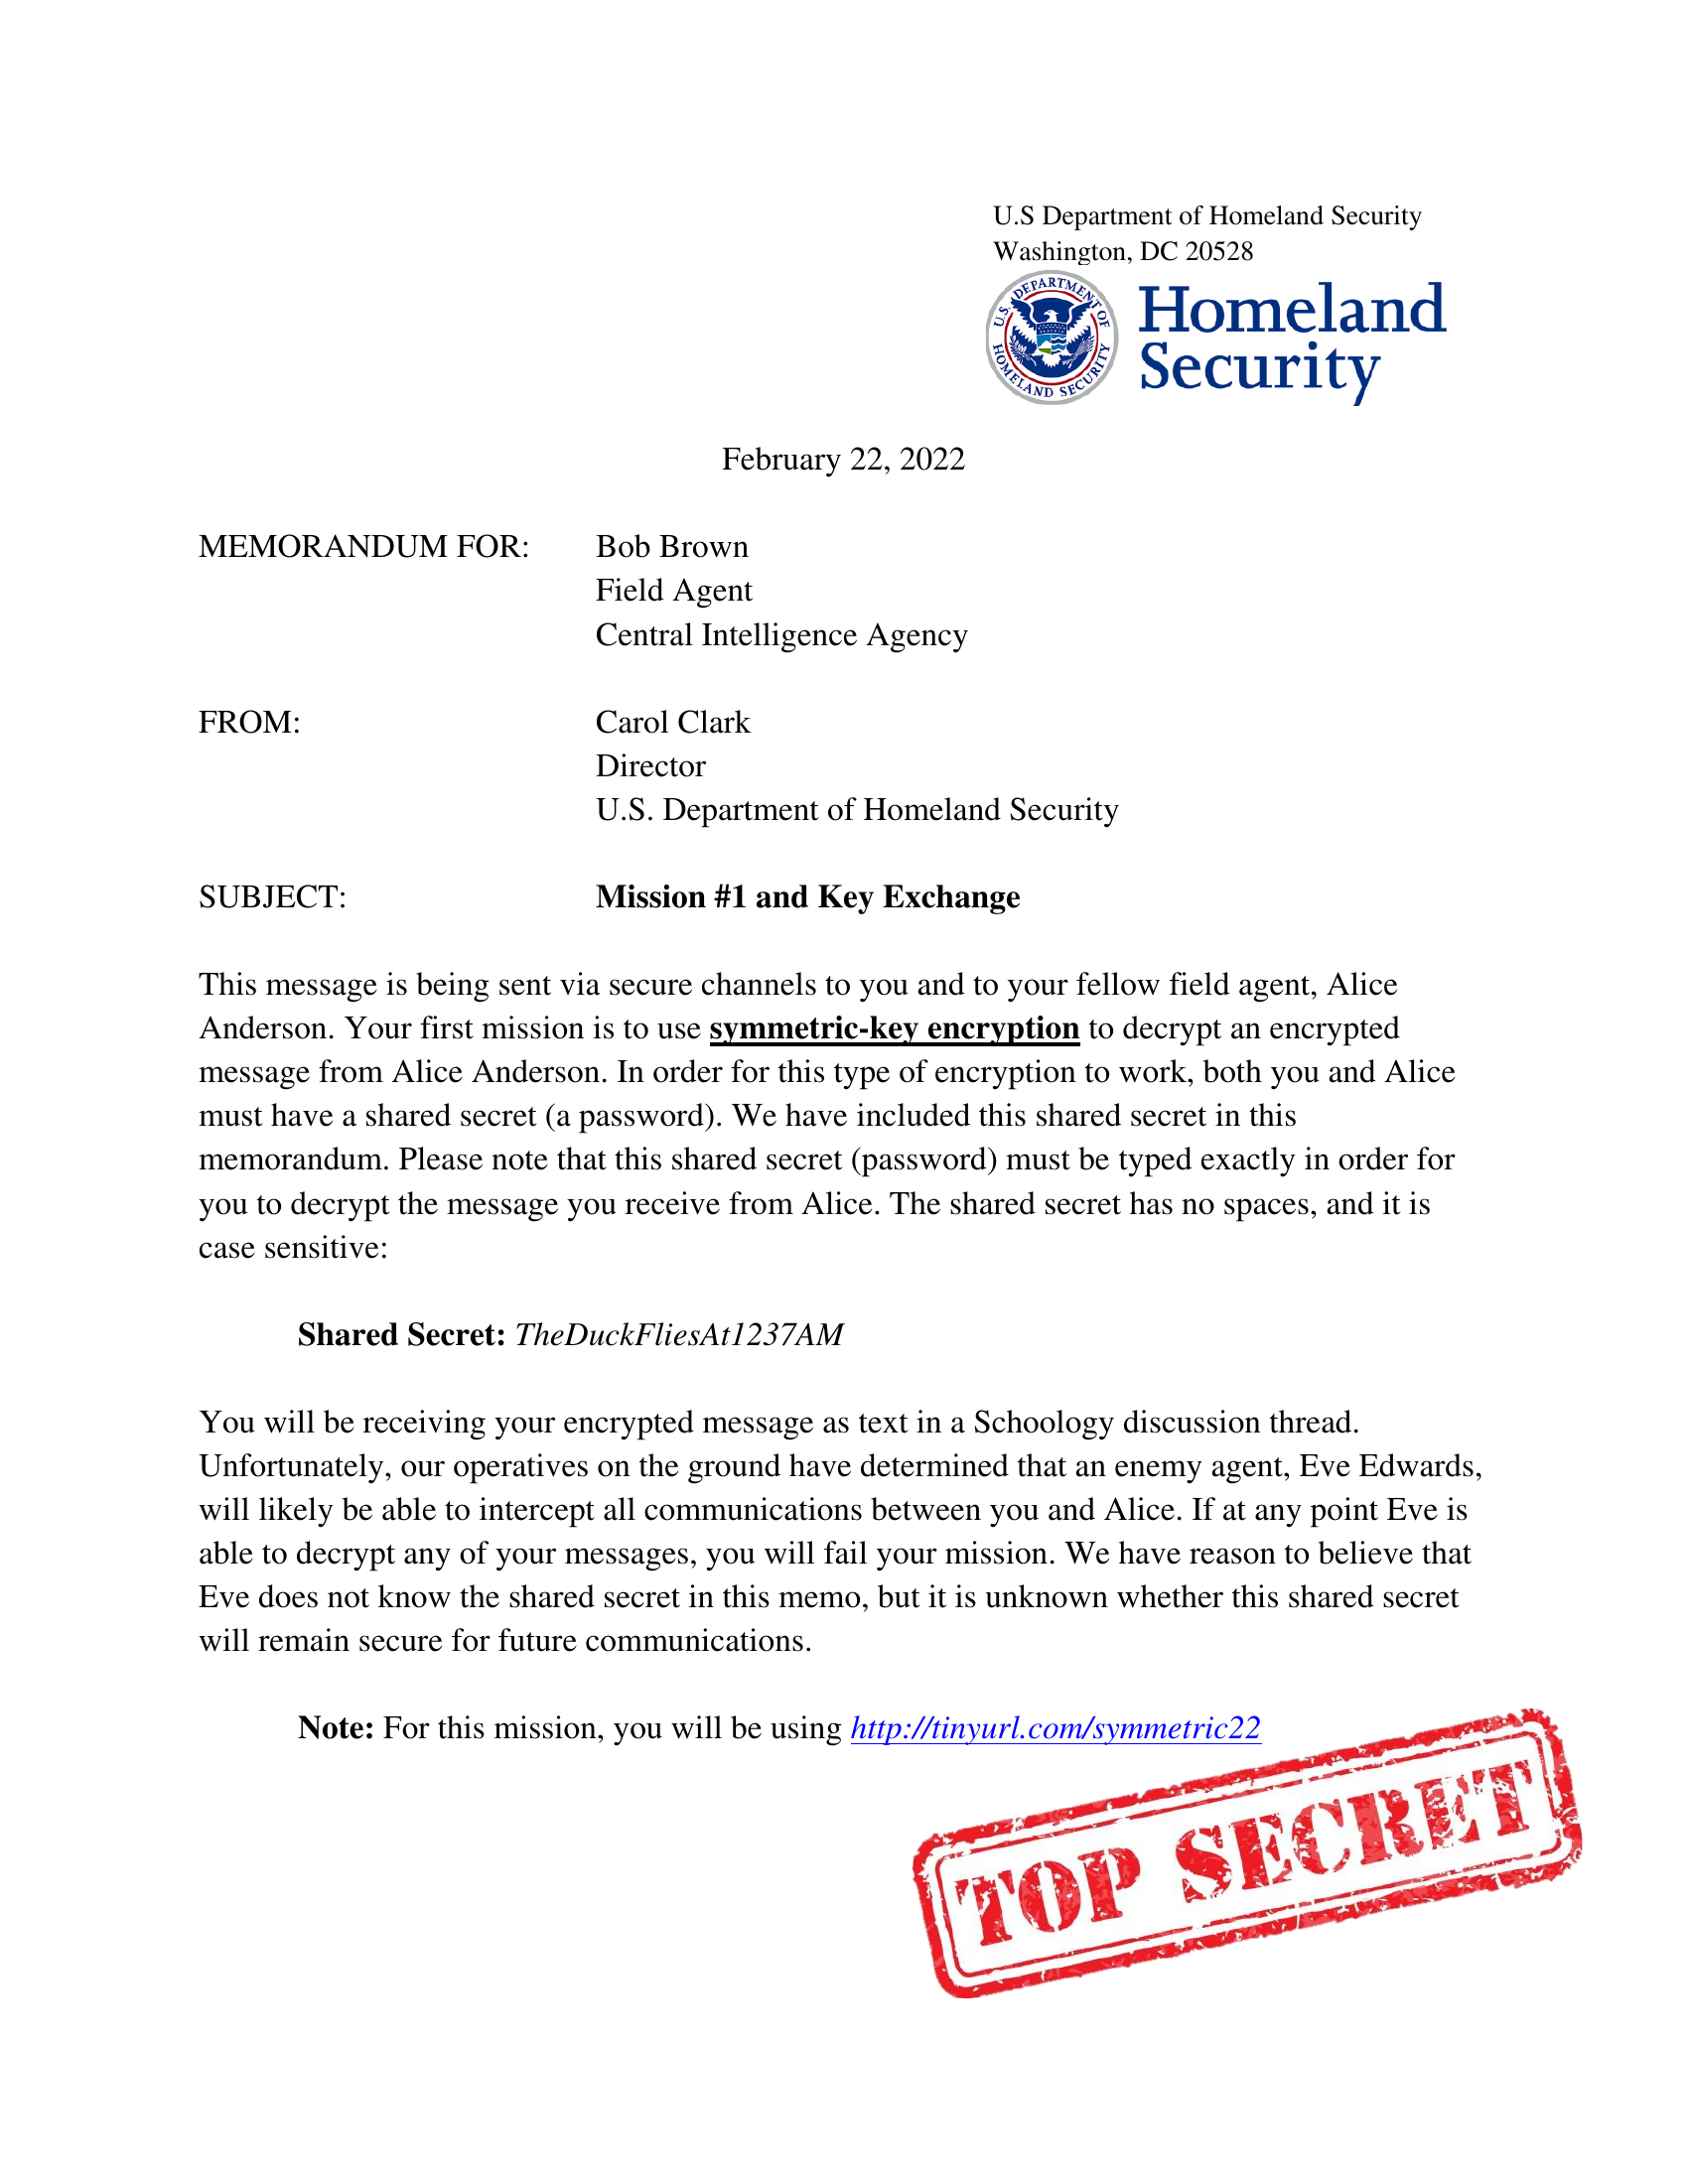
Mission 1 memos for Alice (left) and Bob (right) — Download full handout (PDF)
The Secret Message: "If we successfully complete our mission, we get a treat."
The Shared Password: TheDuckFliesAt1237AM (case-sensitive, no spaces)
Before the mission begins, distribute the password in sealed envelopes to both the Alice and Bob groups in each pair. Make a ceremonial moment of it—this is their shared secret, so treat it seriously. Emphasize that Eve must not see this password.
Now walk through the steps with your class.
Step 1: The Alice group goes to the symmetric-key encryption tool (../tools/symmetric-key.html). They enter the secret message into the "Message" field and paste the password into the "Password" field. They click encrypt and receive a long string of gibberish—the ciphertext.
Step 2: Alice posts the ciphertext to the class discussion board. They can include a label like "Mission 1 from Alice to Bob" so it's clear who sent it. Importantly, they do NOT post the password.
Step 3: Bob retrieves the ciphertext from the discussion board and goes to the same symmetric-key tool. Bob enters the ciphertext into the "Encrypted Message" field, enters the password into the "Password" field, and clicks decrypt. The original message appears.
Step 4: Eve (you) reads the ciphertext on the discussion board but cannot decrypt it because you don't know the password. You can announce this to the class: "I've intercepted a message, but it's useless without the password!"
Teaching Moment: Why This Works
After Mission 1 completes, pause to highlight the core idea: symmetric encryption is fast and strong, but both parties need the same secret beforehand. If Alice and Bob have never met, how do they safely exchange that secret? That's the problem Mission 2 solves. (You'll "reveal" that you've compromised their password, which motivates the switch to asymmetric encryption.)
Mission 2: Asymmetric-Key Encryption
Set the scene for Mission 2. Announce to the class: "I've cracked your password! Your symmetric key is compromised. You need a new approach." This narrative shift motivates why they need asymmetric encryption.
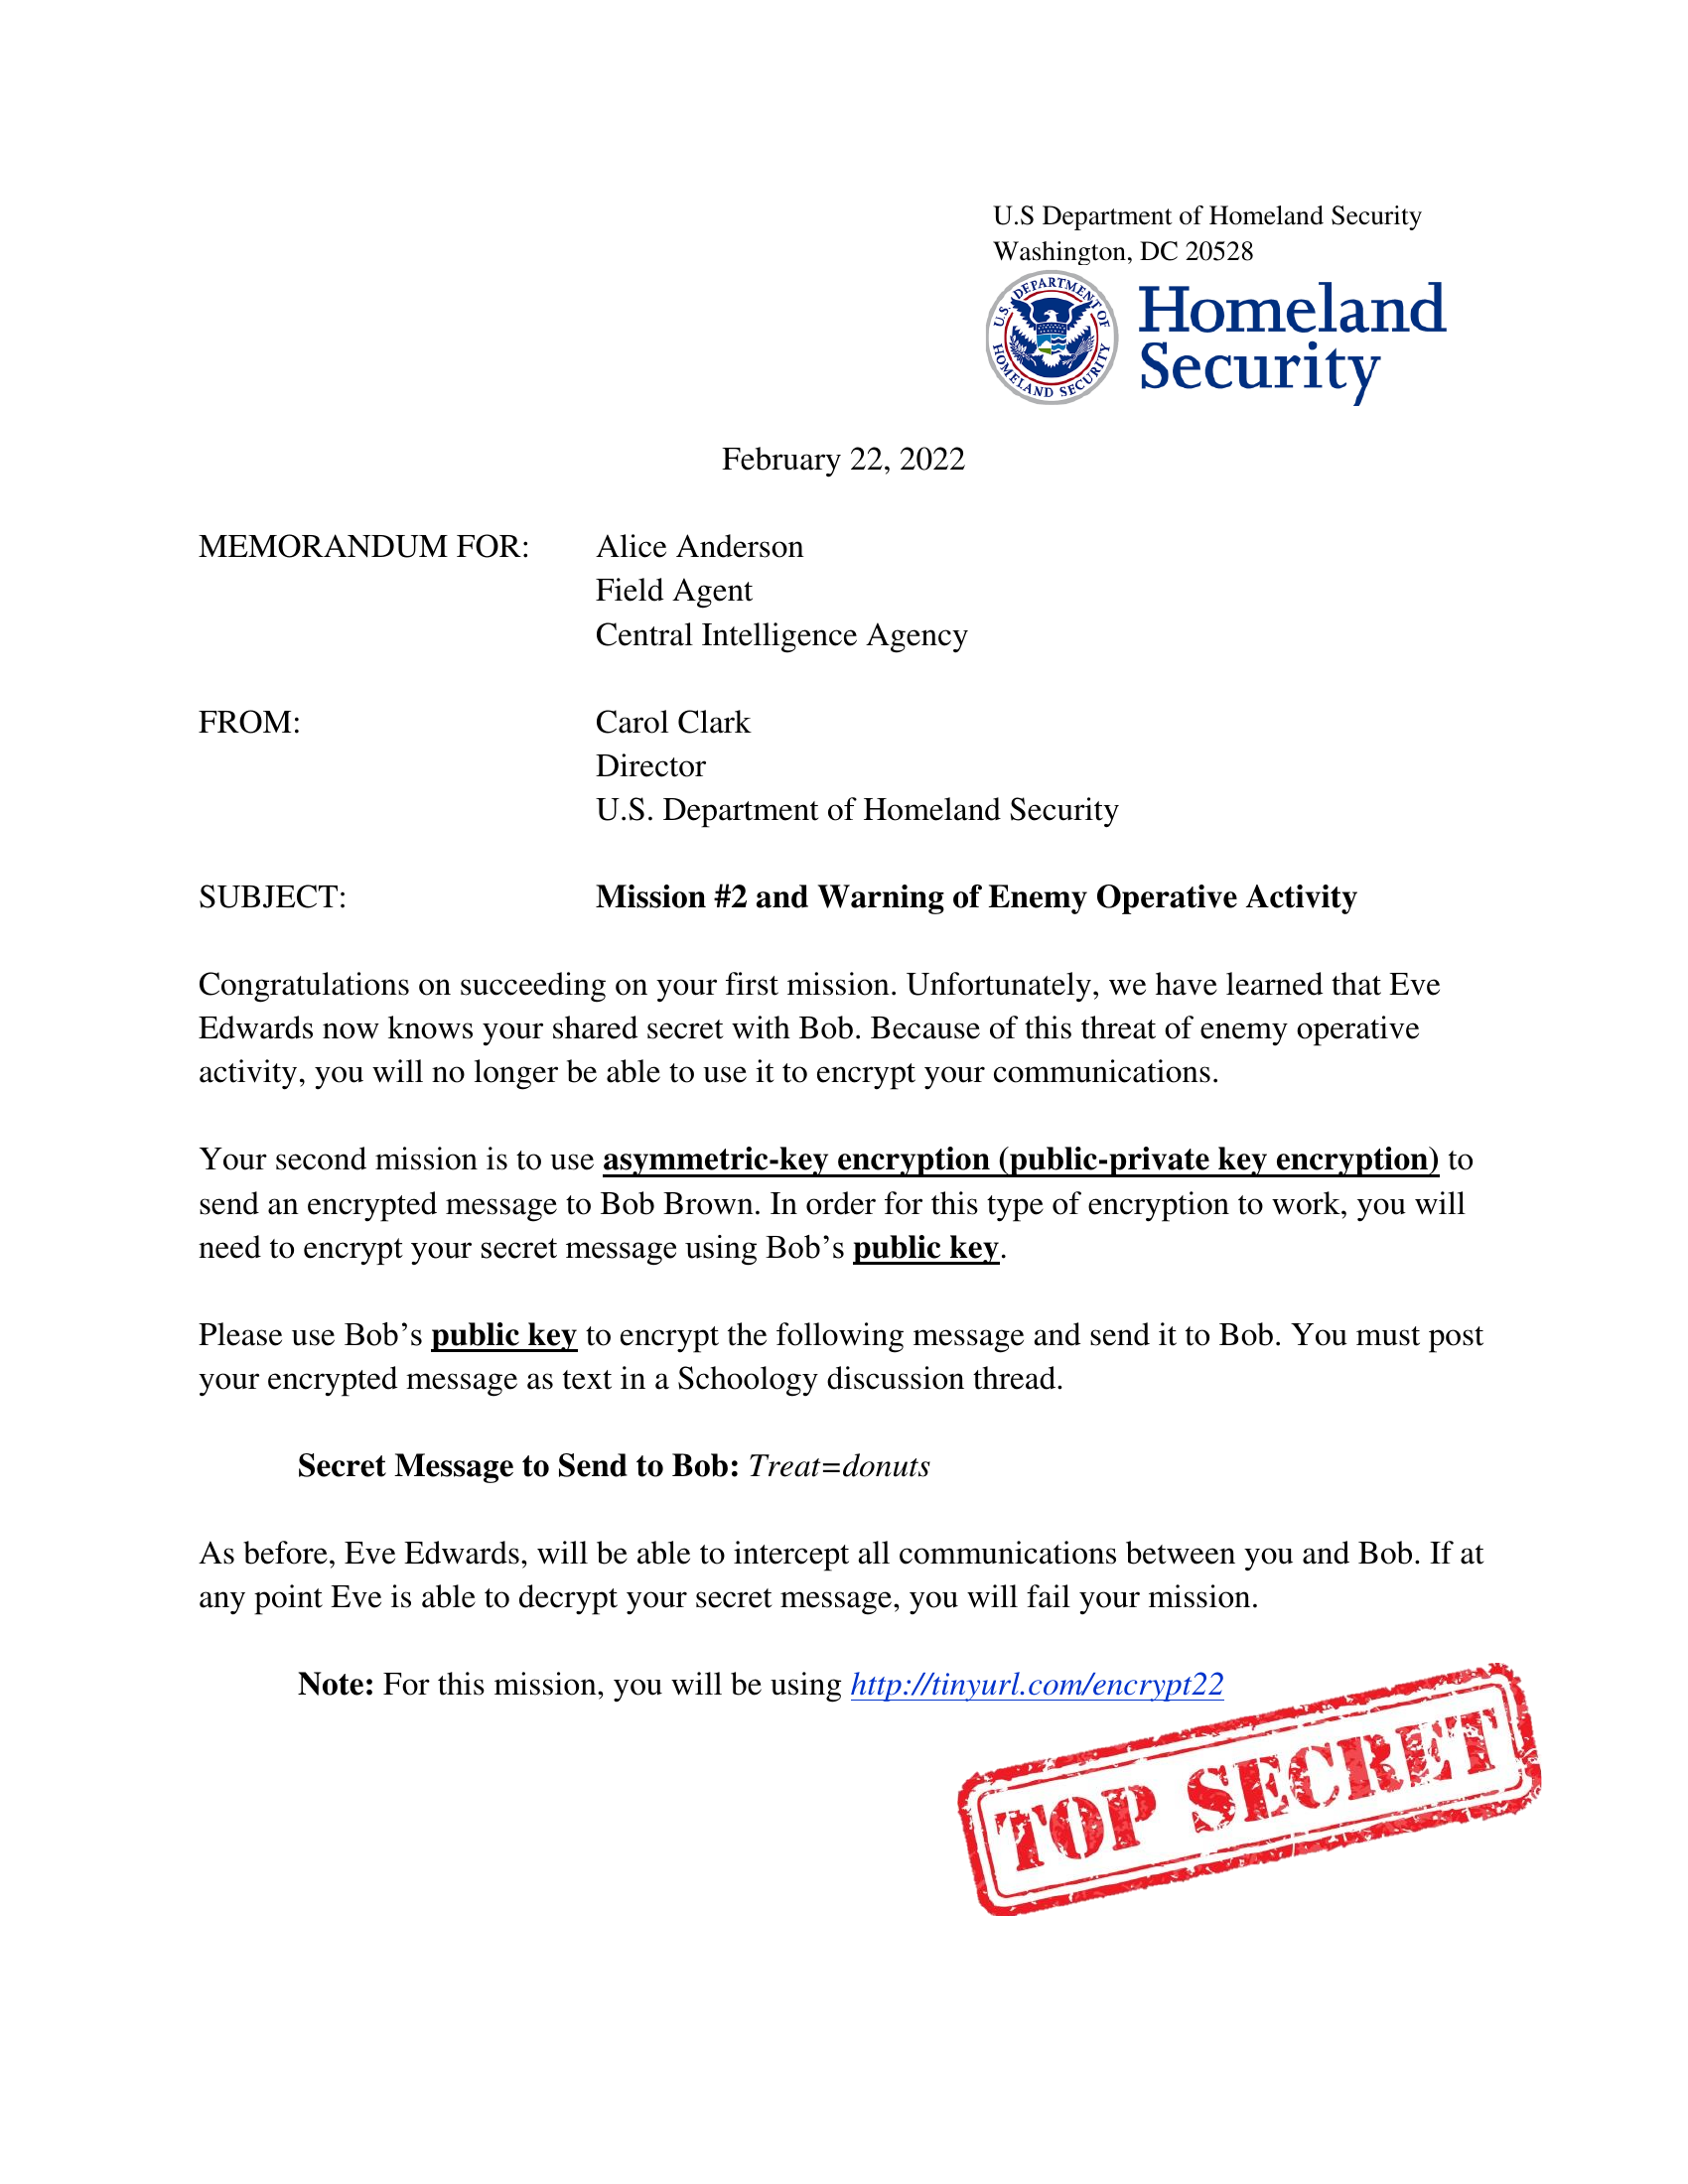
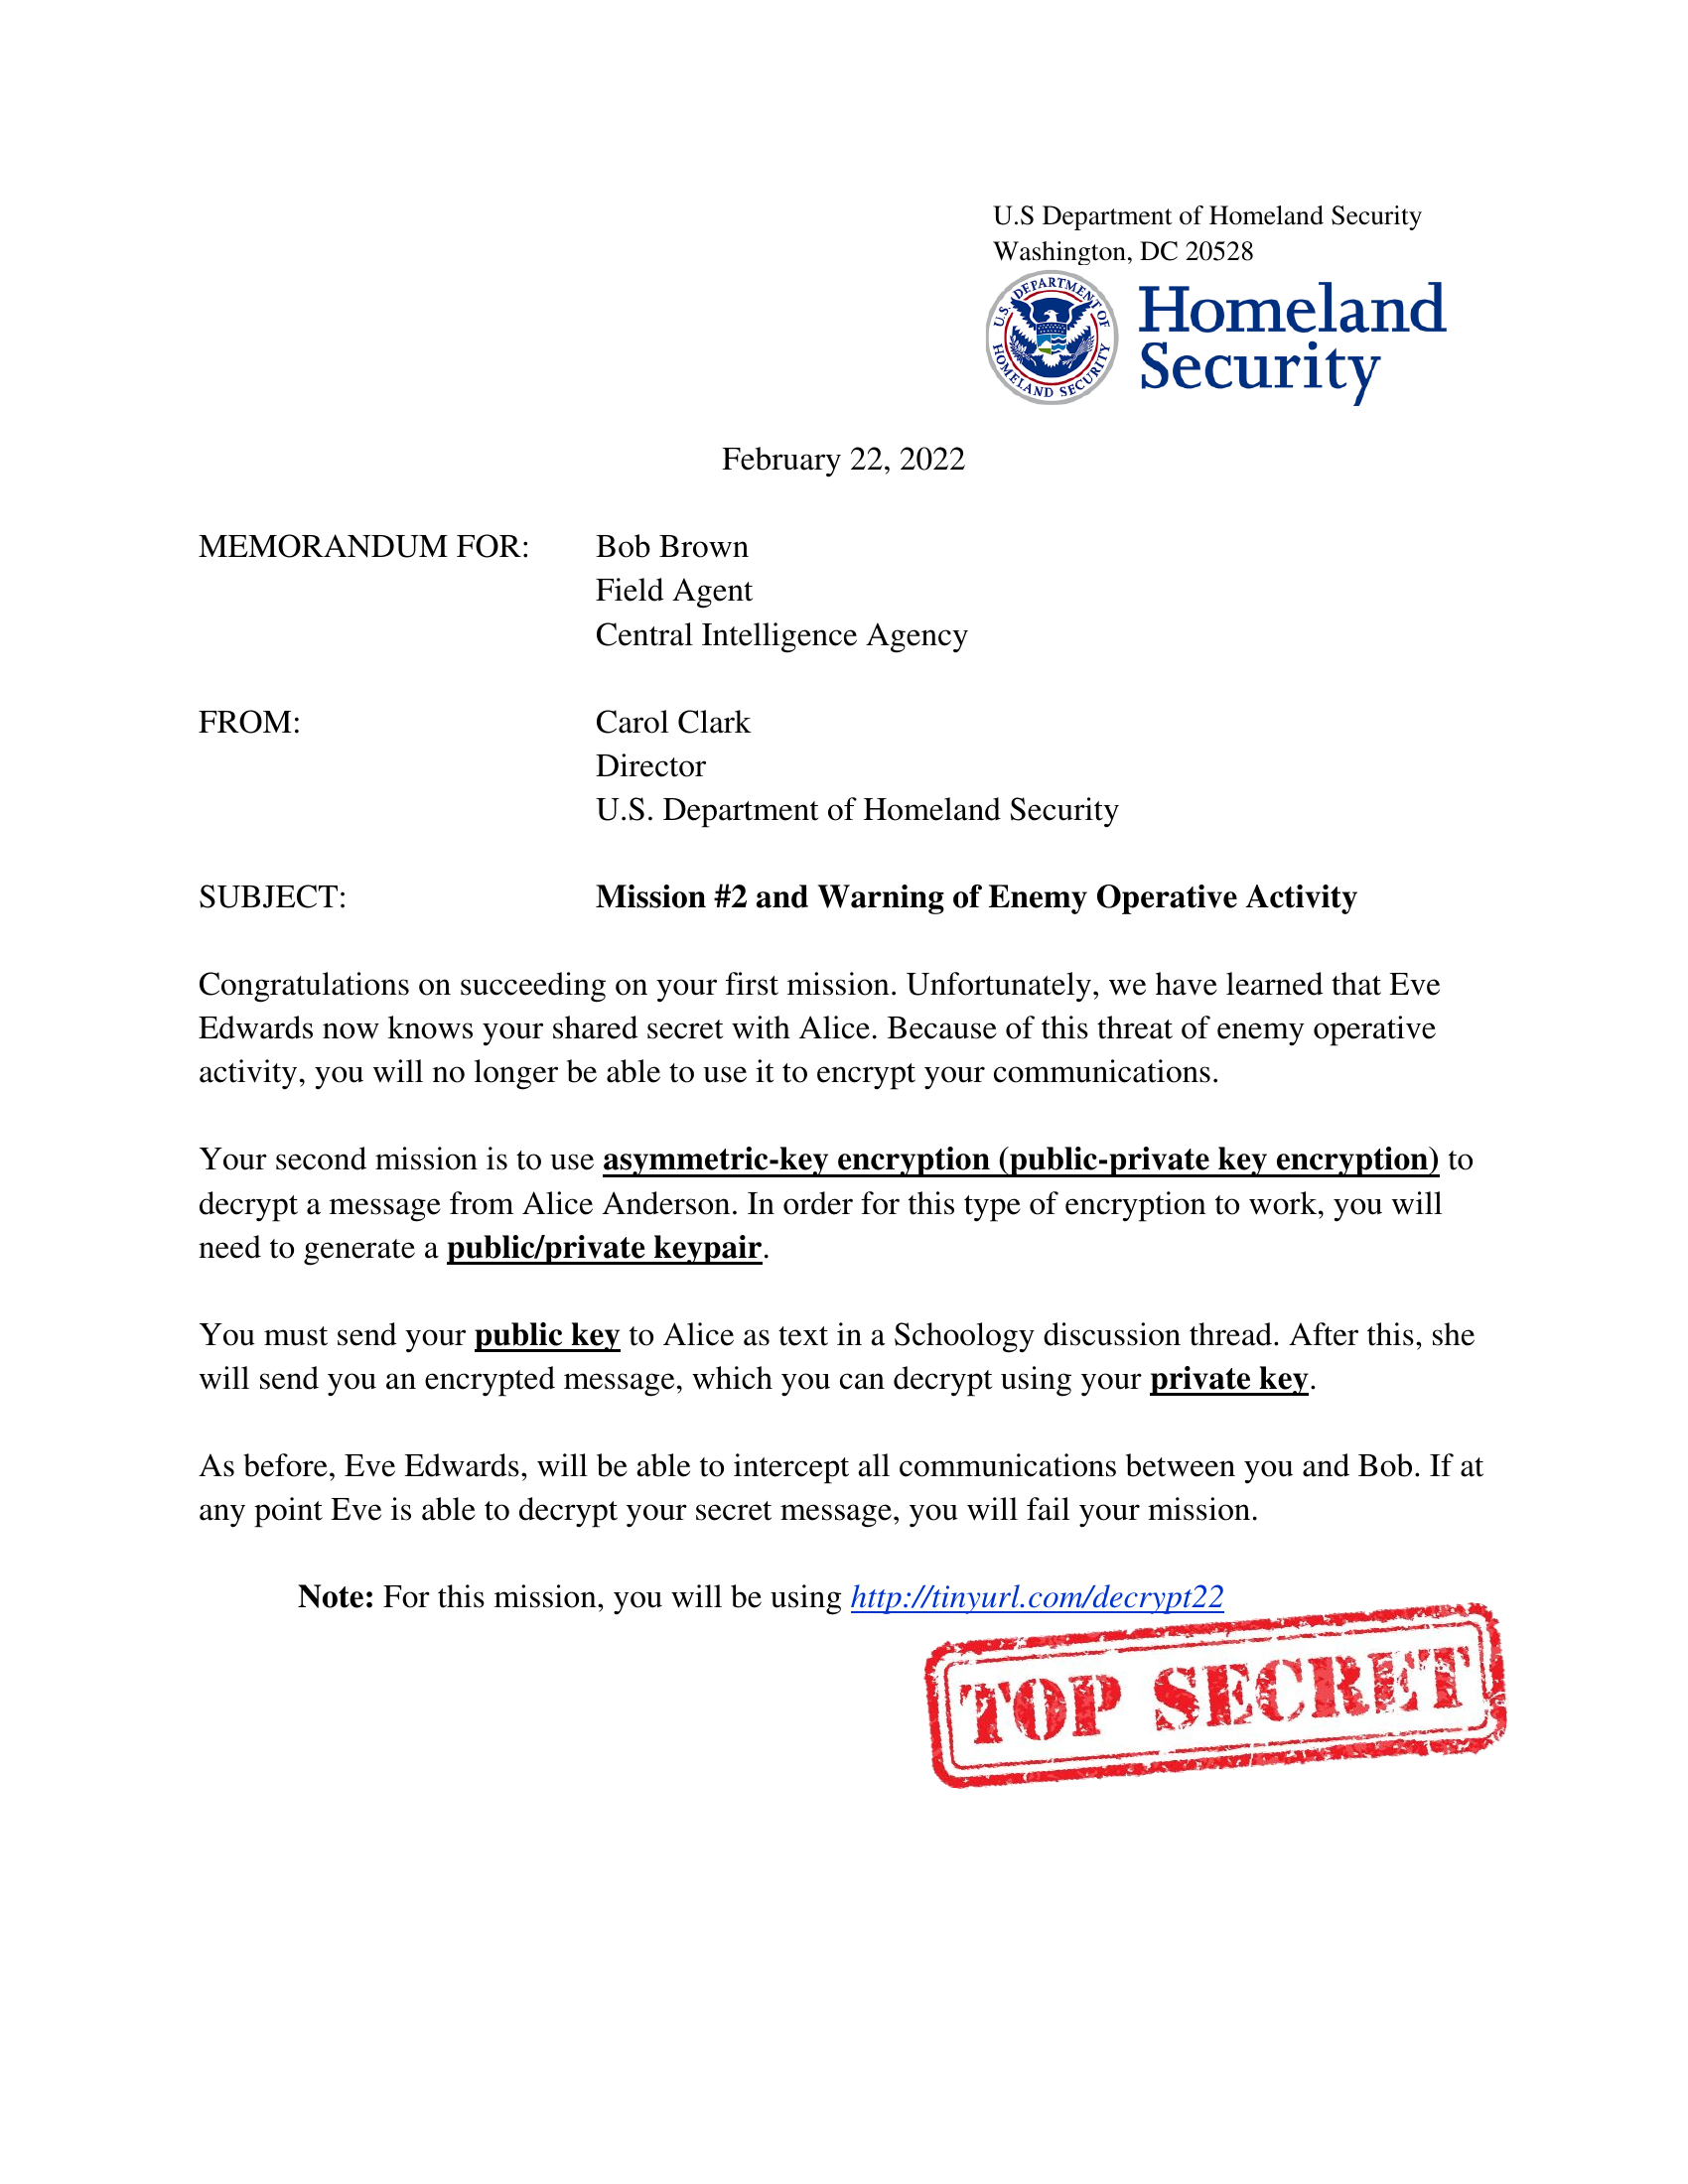
Mission 2 memos for Alice (left) and Bob (right) — asymmetric encryption
The Secret Message: "Treat=donuts"
In asymmetric cryptography, each party has a public key (which everyone can see) and a private key (which only they know). Alice can encrypt a message using Bob's public key, and only Bob—with his private key—can decrypt it. Eve can see the public key, but without the private key, the message is locked forever.
Here are the steps.
Step 1: The Bob group generates a public/private keypair. They go to the public-key decryption tool (../tools/public-key-decrypt.html). On that page, they find the section to generate a new keypair and click "Generate New Keypair." The tool displays two long strings: the public key and the private key. Bob should copy the public key.
Step 2: Bob posts the PUBLIC key to the class discussion board. This is safe—it's public, after all. Bob keeps the private key secret and does NOT share it with anyone, not even Alice.
Step 3: Alice retrieves Bob's public key from the discussion board and goes to the public-key encryption tool (../tools/public-key-encrypt.html). She pastes Bob's public key into the key field, enters the secret message "Treat=donuts" into the message field, and clicks encrypt. She receives ciphertext.
Step 4: Alice posts the ciphertext to the discussion board.
Step 5: Bob retrieves the ciphertext and goes back to the public-key decryption tool. He pastes the ciphertext into the message field, pastes his private key (which he kept secret) into the key field, and clicks decrypt. The message "Treat=donuts" appears. Success!
Step 6: You (Eve) can see the ciphertext on the discussion board and can even see Bob's public key, but you cannot decrypt the message. The public key only locks; it cannot unlock. Without Bob's private key, the message remains secure.
Important: Keep Private Keys Secret
Emphasize to students that the private key must never be shared, not even with their encryption partner. The whole security model depends on it being private. If Eve somehow obtained Bob's private key, she could decrypt every message sent to Bob. This is a critical concept for understanding asymmetric encryption.
Teaching Moment: Why Asymmetric Encryption Is Different
After Mission 2, highlight the shift: Alice and Bob never had to meet or share a secret beforehand. Bob just posted his public key, and Alice could encrypt using it. Eve can see everything but is locked out. This is a major conceptual leap from symmetric encryption and is what makes modern internet security possible.
Mission 3: Hybrid Encryption (Key Exchange)
This is the capstone mission and the most intellectually satisfying. Here, students discover why the real world uses both symmetric and asymmetric encryption together.
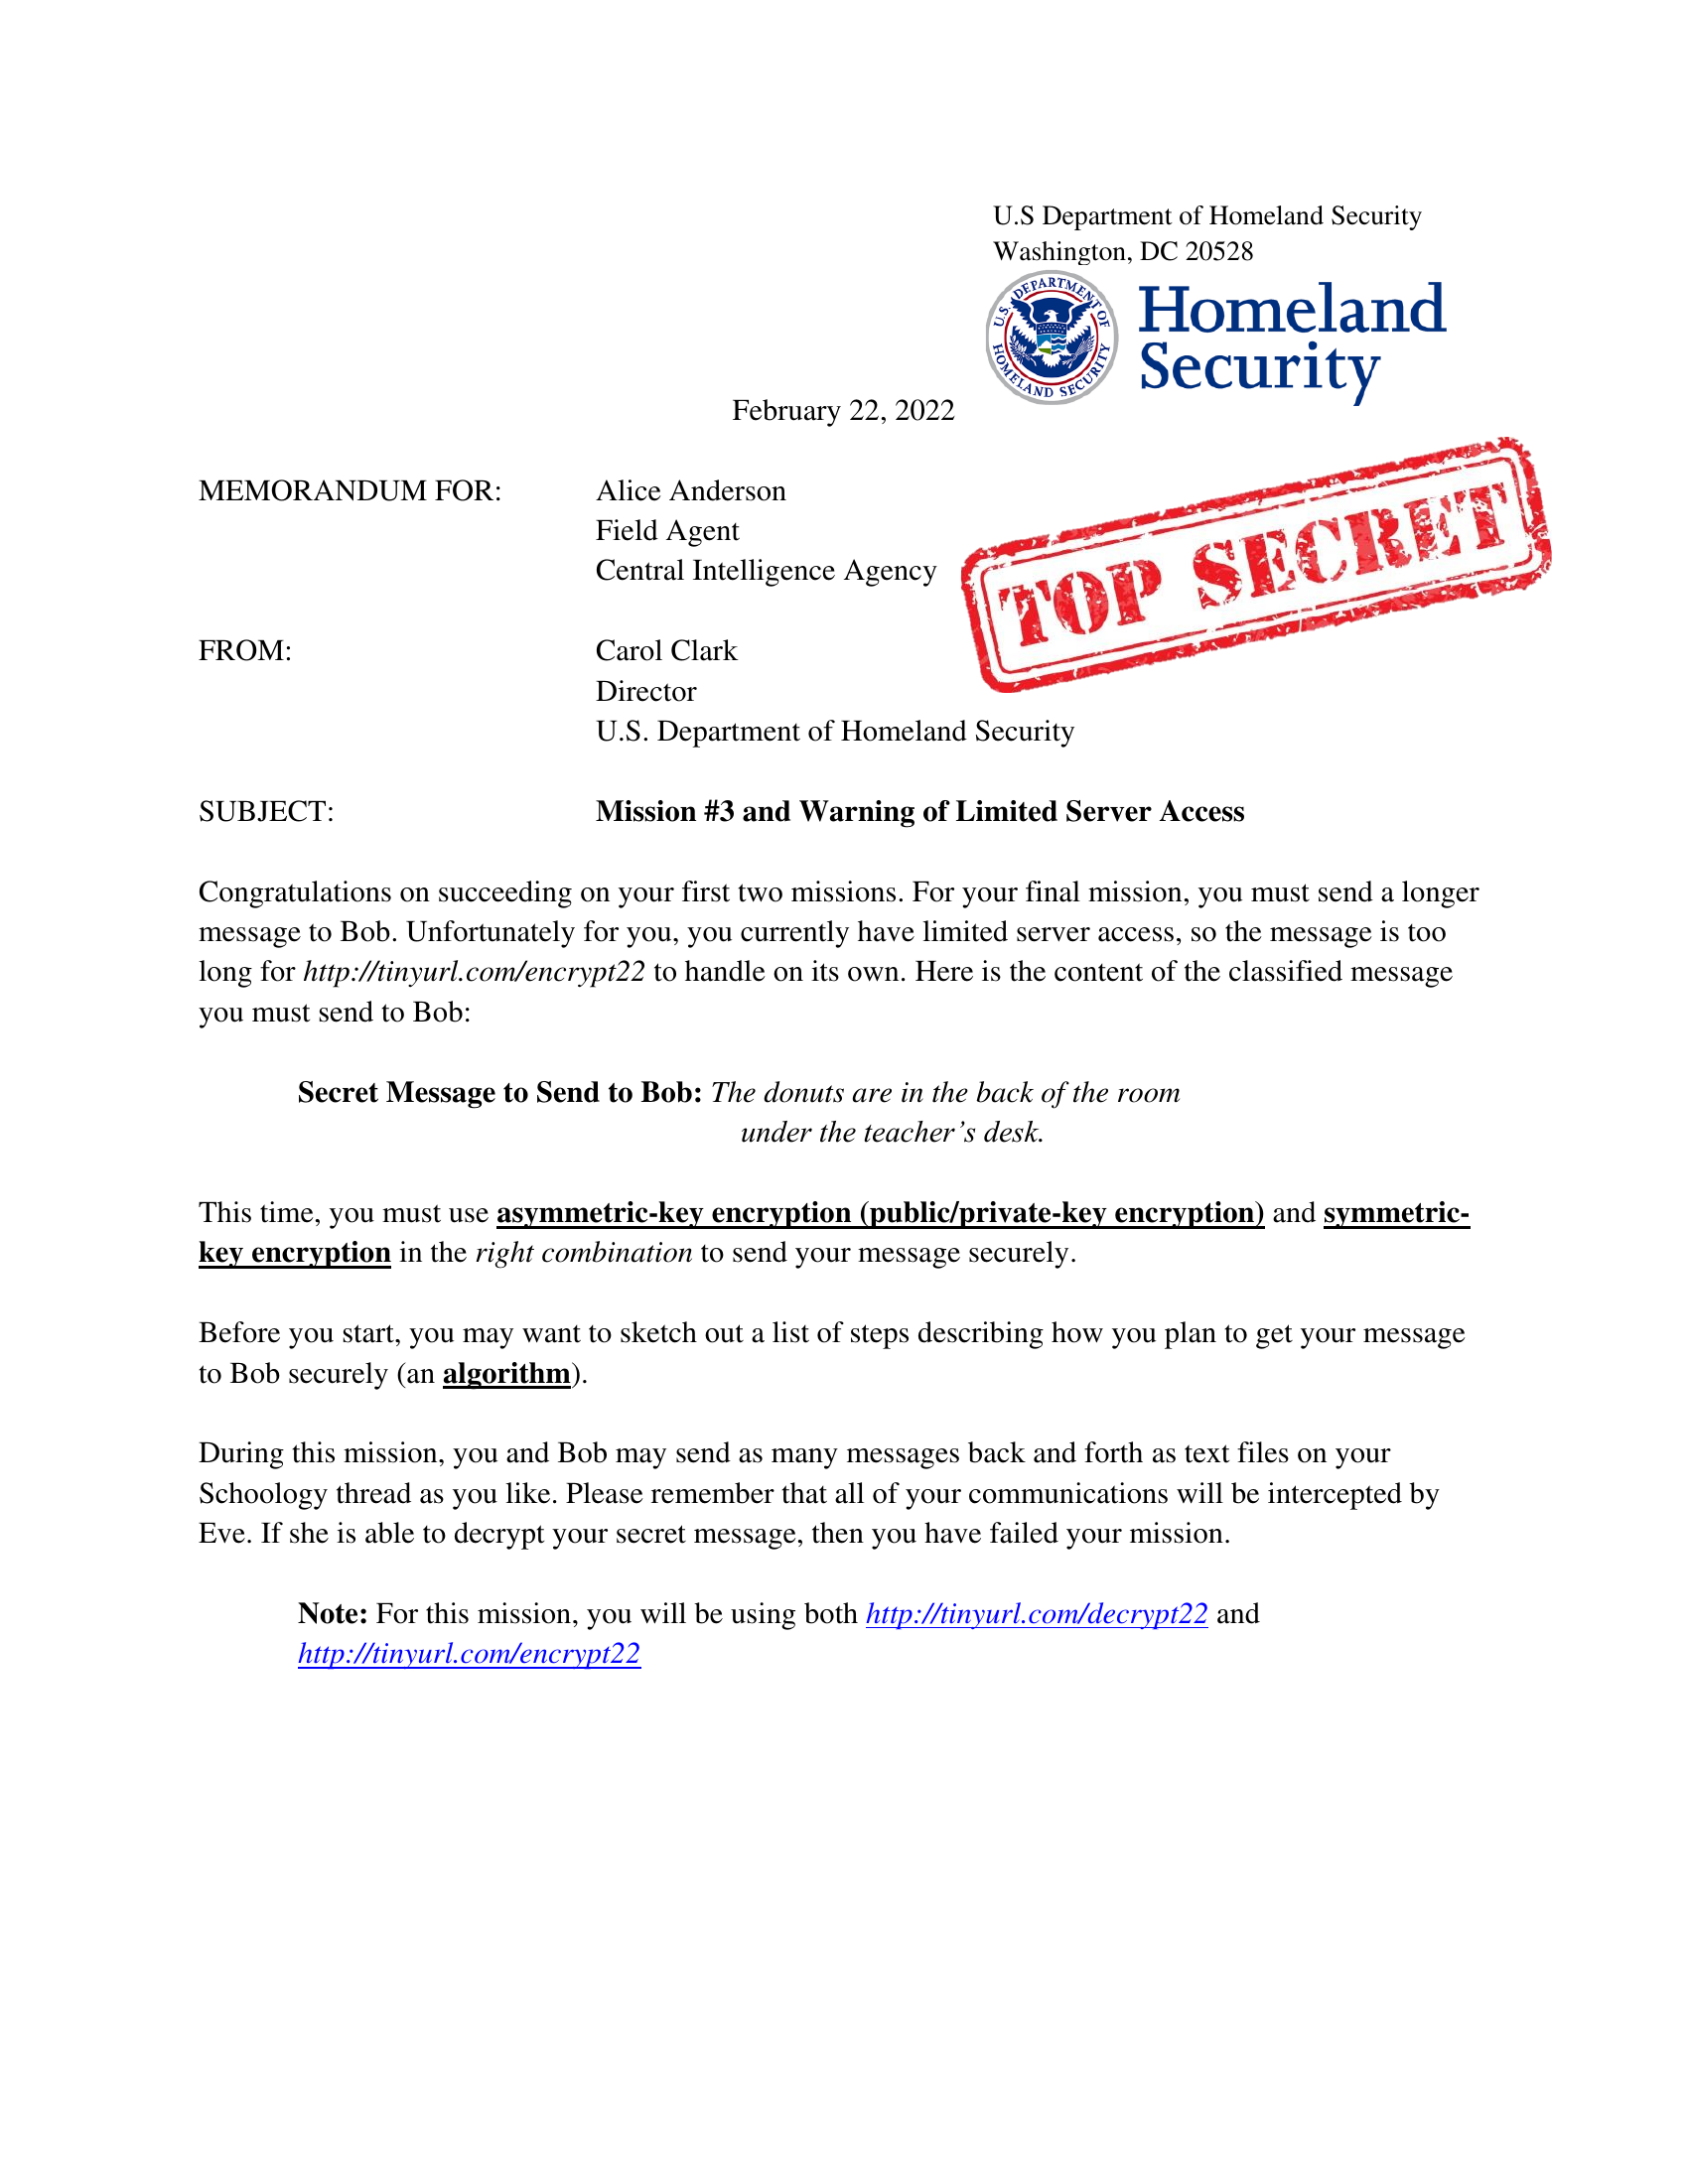
Mission 3 memo — students combine both encryption types
The Secret Message: "The donuts are in the back of the room under the teacher's desk."
The Problem: Try encrypting this longer message using the public-key encryption tool, and students will hit the character limit. Asymmetric encryption is secure but slow and has size constraints. Symmetric encryption is fast and has no size limit, but both parties need the same key beforehand. How do you combine the strengths of both?
The answer is hybrid encryption, and it's exactly how HTTPS and modern TLS protocols work. The idea: use asymmetric encryption to safely exchange a symmetric key, then use that symmetric key to encrypt the actual message.
Walk your students through this seven-step algorithm. Emphasize that this is a real, practical algorithm used across the internet.
Step 1: Bob Generates a New Keypair
Bob goes to the public-key decryption tool and generates a fresh public/private keypair. (He can reuse the one from Mission 2, but generating a new one reinforces the process.)
Step 2: Bob Posts His Public Key
Bob posts his public key to the discussion board so Alice can access it.
Step 3: Alice Picks a Short Password
Alice invents a new, short password that will serve as the symmetric encryption key. Something like "SecretDonut42" works. This password must be short enough to fit into the public-key encryption tool's character limit (typically a few hundred characters). Alice does NOT post this password yet.
Step 4: Alice Encrypts the Password Using Bob's Public Key
Alice goes to the public-key encryption tool, pastes Bob's public key, enters the short password into the message field, and clicks encrypt. She receives ciphertext—the encrypted password.
Step 5: Alice Posts the Encrypted Password
Alice posts the encrypted password to the discussion board. Eve can see it, but without Bob's private key, Eve cannot decrypt it.
Step 6: Bob Decrypts the Password
Bob retrieves the encrypted password from the discussion board, goes to the public-key decryption tool, pastes the ciphertext into the message field, pastes his private key into the key field, and clicks decrypt. He now has the short password that Alice invented. Crucially, both Alice and Bob now share this symmetric key, and Eve does not.
Step 7: Alice and Bob Encrypt/Decrypt the Long Message with the Shared Password
Now Alice uses the symmetric-key encryption tool: she enters the long secret message "The donuts are in the back of the room under the teacher's desk" and the short password, then encrypts. She posts the ciphertext to the discussion board. Bob uses the symmetric-key tool to decrypt it with the same password. The message is revealed, and Eve is locked out again.
Why This Matters in the Real World
This seven-step process is the essence of how HTTPS works when you visit a secure website. Your browser uses the server's public key (Step 4) to encrypt a symmetric key (Step 3), the server decrypts it with its private key (Step 6), and then both your browser and the server use that symmetric key to encrypt and decrypt all the actual data (Step 7). Your students have just learned how their bank, email, and social media stay secure.
Potential Roadblock: The Character Limit
Some students may not immediately hit the character limit when they try to encrypt the long message with the public-key tool in earlier attempts. If the limit is generous, they might not feel the problem acutely. You can address this by explicitly stating the constraint: "Your public-key tool has a 200-character limit. Can you fit the entire message? If not, you need a hybrid approach." This makes the problem concrete and motivates the hybrid solution.
After the Activity: Discussion and Reflection
Once all three missions are complete, bring the class together for a wrap-up discussion. These questions help students consolidate what they've learned and think critically about cryptography.
Discussion Questions: Why does the real world use asymmetric encryption for key exchange but symmetric encryption for messages? (Answer: asymmetric is secure but slow; symmetric is fast but requires a shared secret. Hybrid encryption gets the best of both.) What would happen if Eve somehow replaced Bob's public key on the discussion board with her own? (Answer: Alice would encrypt using Eve's public key, Eve would decrypt it, and Eve would have the symmetric key. This motivates the need for digital certificates and trust systems.) Why can't Eve just use her private key to decrypt Bob's public key? (Answer: private keys don't decrypt public keys; they decrypt messages that were encrypted with the corresponding public key.)
If time and interest permit, show the educational video on cryptography (https://www.youtube.com/watch?v=ERp8420ucGs). This resource provides a high-level overview and can help students see the activity in a broader context of internet security.
Homework Assignment: Ask students to write the Mission 3 algorithm in paragraph form (as if explaining it to a friend), then rewrite it as pseudocode. This reinforces the logic and helps them practice algorithmic thinking. A sample prompt: "Describe the seven steps of hybrid encryption as if you were teaching a classmate who wasn't here today. Then, rewrite your explanation as pseudocode (using BEGIN, IF, WHILE, ENCRYPT, DECRYPT, etc.)."
Downloadable Materials
The following resources are available to support your teaching. The student handout is a PDF worksheet that groups can use to track their progress through the three missions. The activity description is a Word document with additional context and extension ideas.
- Student Handout (PDF) — Use this as a worksheet for each student group. It includes spaces to record the ciphertext and messages from each mission.
- Activity Description (DOCX) — A detailed write-up with additional notes, extension activities, and assessment rubrics.
Customize It
Want to adapt the missions for a different topic or adjust the difficulty? The original editable Word documents are available below.
Editable Source Files (.docx)
- Student Handout (DOCX) — Editable version of the student worksheet
- Activity Description (DOCX) — Editable version with notes and extension ideas
Standards Alignment
This activity directly addresses several AP Computer Science Principles standards:
- 6.3.1H: Cryptography is essential to cybersecurity and enables secure communication over networks.
- 6.3.1I: Cryptography uses mathematical foundations (e.g., public and private keys) that are difficult to reverse.
- 6.3.1J: Security through obscurity is insufficient; open, peer-reviewed standards are more trustworthy.
- 6.3.1M: Digital certificates help establish trust in online communications and protect against man-in-the-middle attacks.